The tool post was a 4 position turret, which meant shimming everything, which I soon decided wasnt a lot of fun.
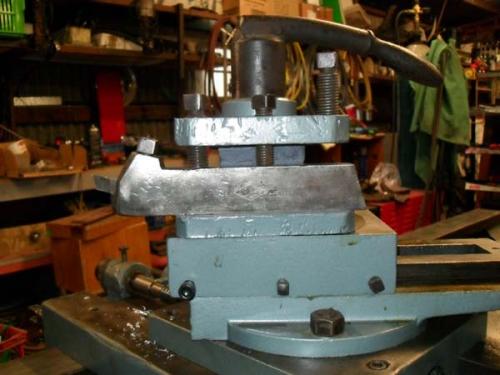
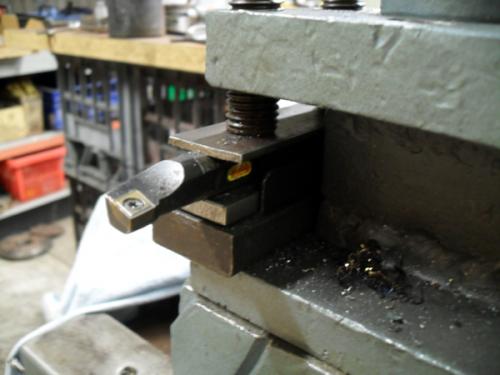
I did manage to pick up some old tool holders for 1/2" HSS blanks and also a HSS cut off tool and an Armstrong threading tool.
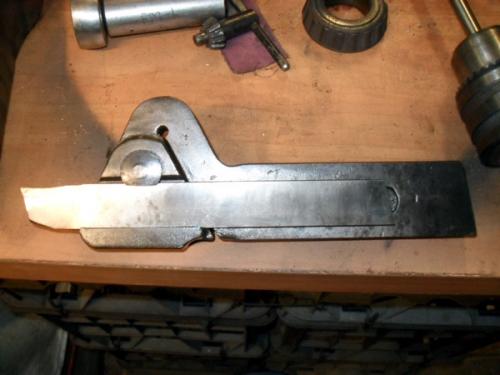
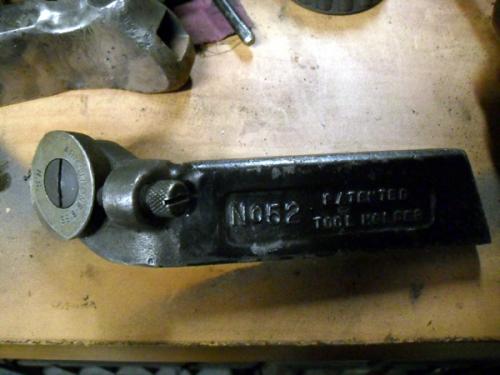
Whilst this did cut down on the shimming, the tool post was still cumbersome to use.
Once I knew the lathe was functional, I made the decision to buy a QCTP. It was suggested to me (by PixMan) that I get a CA size import from Jeff Beck at tools4cheap. So, I contact Jeff and ordered one ($300) and Jeff kindly spread the tool post and holders over 3 USPS flat rate postage boxes ($50 per box). So, for $450 I got a QCTP that would have cost me 3x the price to buy here!
Not long after I got the QCTP I was in the US for a meeting and had the opportunity to meet up with PixMan. We spent some time in his Dads shop and made a 7/8-14 stud to fit the QCTP, which I could finish off when I got home.
That was only the second time I had cut a thread on a lathe and it was quite nerve racking having to do it on a lathe where all the controls were different and someone with a bucket load of experience was peering over my shoulder. I was actually more nervous about crashing his lathe than I was about cutting the thread. However, he is a great teacher and it all worked out in the end. You will note from the pictures that the toolpost stud mounts quite differently on my lathe to most.
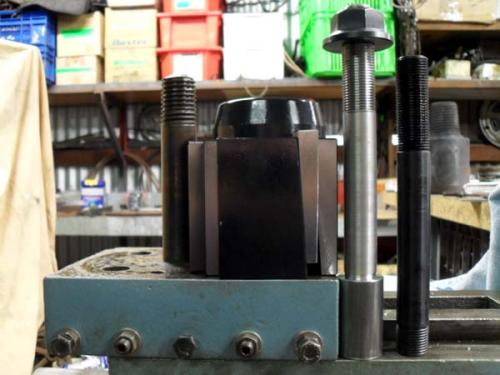
Here is a picture of the QCTP sitting on my compound and (from Left to Right) the original 1-1/4" stud (in situ), the newly turned stud and the stud that came with the QCTP.
Close up of the thread
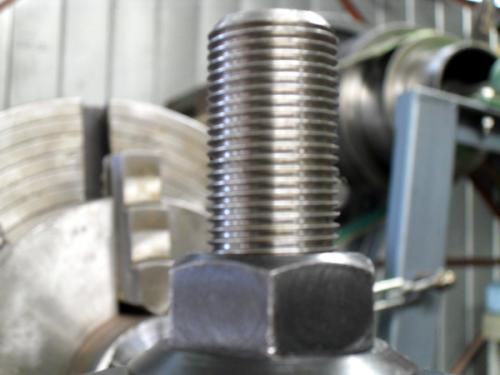
The thread was cut using a 14 pitch lay-down threading insert. Unfortunately, I cannot remember the exact insert used but Im sure PixMan can enlighten us. We picked up two from Hemley Tool Supply in CT on our way from NY to MA (I guess he was also nervous about me crashing things!). In the end, the thread cut beautifully (as you can see) and the insert still looked brand new when we finished.
Once I got home, it was time to finish of the stud. As you will see, the stud on my lathe doesn't slide in a T-slot. Nor does it simply screw into the compound. Instead, my stud is a press fit.
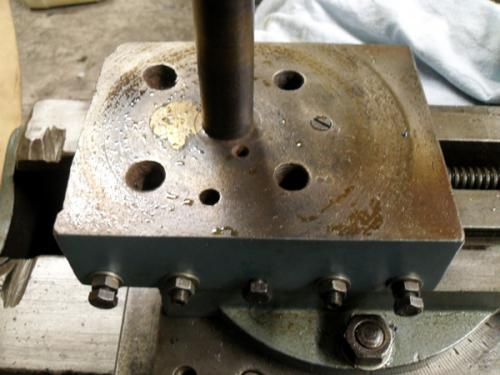
Here is the top of the compound with the original turret removed, showing the 1-1/4" stud in place
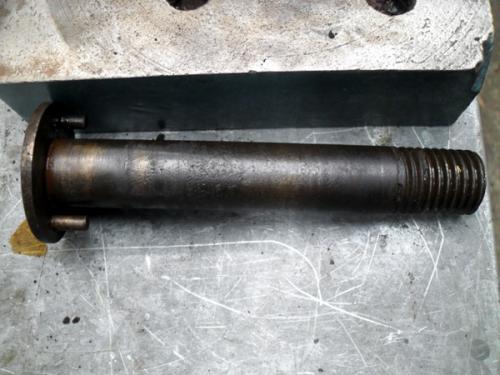
Stud pressed out. Note the locating pins on the flange
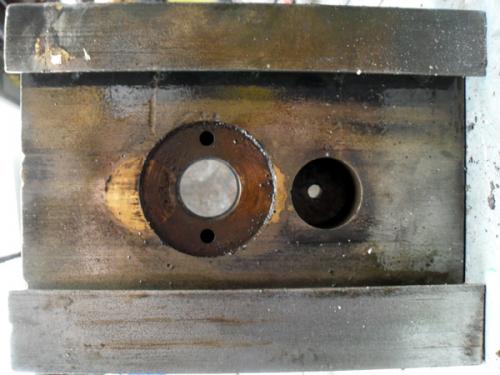
Underside of compound, showing the recess for the stud flange and the two locating holes
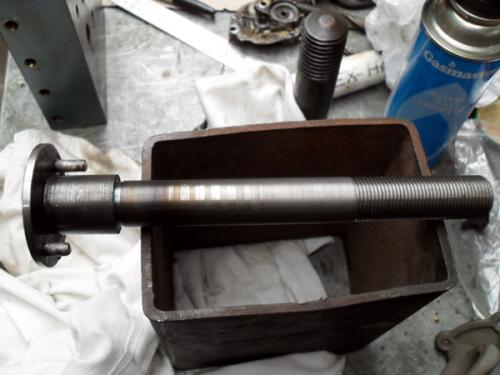
Hub ready to be welded onto the stud
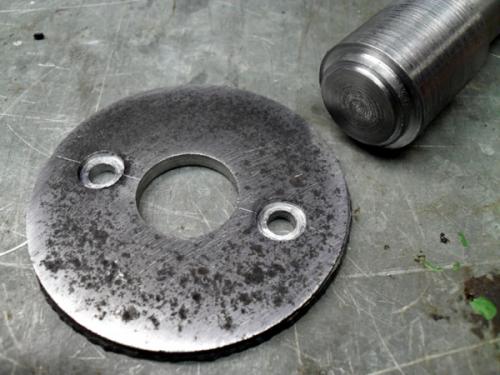
Finished product
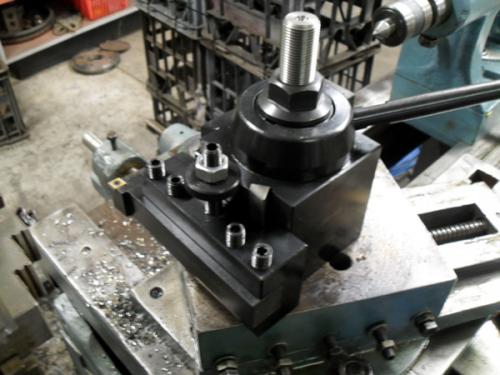
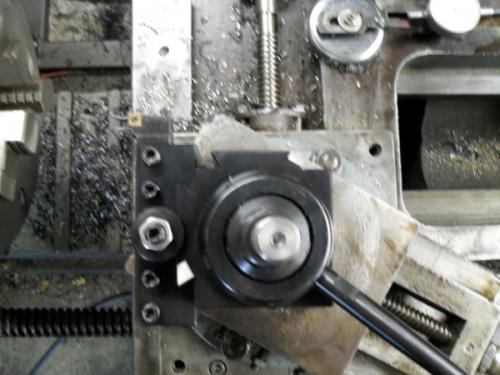
All set up and ready to rock!
I did manage to pick up some old tool holders for 1/2" HSS blanks and also a HSS cut off tool and an Armstrong threading tool.
Whilst this did cut down on the shimming, the tool post was still cumbersome to use.
Once I knew the lathe was functional, I made the decision to buy a QCTP. It was suggested to me (by PixMan) that I get a CA size import from Jeff Beck at tools4cheap. So, I contact Jeff and ordered one ($300) and Jeff kindly spread the tool post and holders over 3 USPS flat rate postage boxes ($50 per box). So, for $450 I got a QCTP that would have cost me 3x the price to buy here!
Not long after I got the QCTP I was in the US for a meeting and had the opportunity to meet up with PixMan. We spent some time in his Dads shop and made a 7/8-14 stud to fit the QCTP, which I could finish off when I got home.
That was only the second time I had cut a thread on a lathe and it was quite nerve racking having to do it on a lathe where all the controls were different and someone with a bucket load of experience was peering over my shoulder. I was actually more nervous about crashing his lathe than I was about cutting the thread. However, he is a great teacher and it all worked out in the end. You will note from the pictures that the toolpost stud mounts quite differently on my lathe to most.
Here is a picture of the QCTP sitting on my compound and (from Left to Right) the original 1-1/4" stud (in situ), the newly turned stud and the stud that came with the QCTP.
Close up of the thread
The thread was cut using a 14 pitch lay-down threading insert. Unfortunately, I cannot remember the exact insert used but Im sure PixMan can enlighten us. We picked up two from Hemley Tool Supply in CT on our way from NY to MA (I guess he was also nervous about me crashing things!). In the end, the thread cut beautifully (as you can see) and the insert still looked brand new when we finished.
Once I got home, it was time to finish of the stud. As you will see, the stud on my lathe doesn't slide in a T-slot. Nor does it simply screw into the compound. Instead, my stud is a press fit.
Here is the top of the compound with the original turret removed, showing the 1-1/4" stud in place
Stud pressed out. Note the locating pins on the flange
Underside of compound, showing the recess for the stud flange and the two locating holes
Hub ready to be welded onto the stud
Finished product
All set up and ready to rock!
Hunting American dentists since 2015.


