Project Bridgeport Rebuild
#61
(12-30-2016, 11:01 AM)EdK Wrote: Just an FYI, but that second to last link is broken.

Ed

Pity, as that was quite a good page. I pasted these into a document and haven't looked at them since I got the head put back together. Some probably even before them.
Hunting American dentists since 2015.
Reply
Thanks given by:
#62
So I made a start on the head!

So far I've found things in there which shouldn't be in there.

Then there are things that should be in there that are not in there.

And finally there a few things that are mangled beyond all recognition that i cant tell if they should be in there or not!

So I started off by stripping all the repainted finish from the head that was covering the entire machine. I not sure what they used but looks like some kind of latex paint you would use in the living room as it came off easily thanks to all the oil and grease which seemed to have impregnated it. This left what I assume was the original Bridgeport grey factory paint, so far so good.

Next up was the motor, belt housing and the vari speed mech which was not too bad to disassemble. At this point I must give thanks to Darren who sent me a load of very helpful information on the head and along with those links from Ed and others I was quietly confident I could pull it apart without too much trouble.

Next up was the gear housing and the main quill housing assembly and this is where I ran into a few problems. First off the gear housing. I had a hell of time trying to remove the pulley as I don't own a gear puller and in the end a dodgy wooden clamp system managed to get it removed.
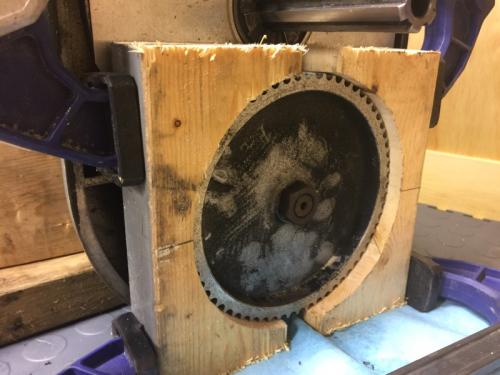
   

Next up was removing the big gear,
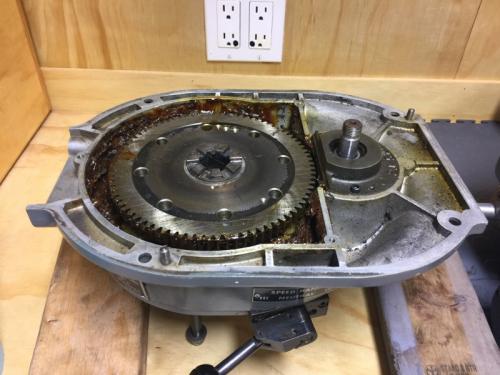
   

This thing was buried in a lot of old grease
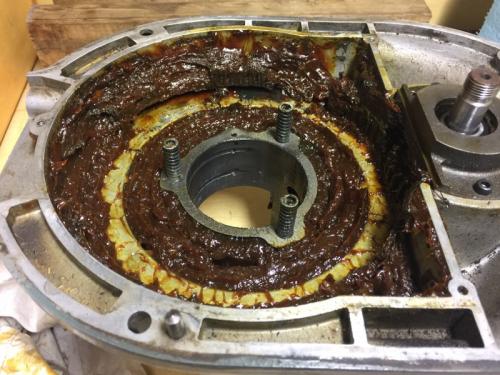
   
 
however when I took it out this came out with it.
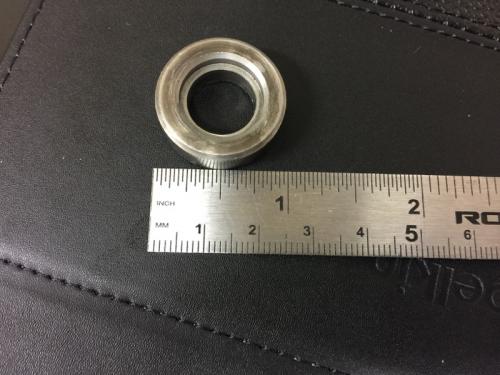
   

It wasn't obvious where it came from and where it should live and i couldn't find it anywhere on a parts list or exploded diagram so Ive no idea what it is or where it goes.

My next surprise was a piece of mangled metal that fell out of the top of the quill housing.
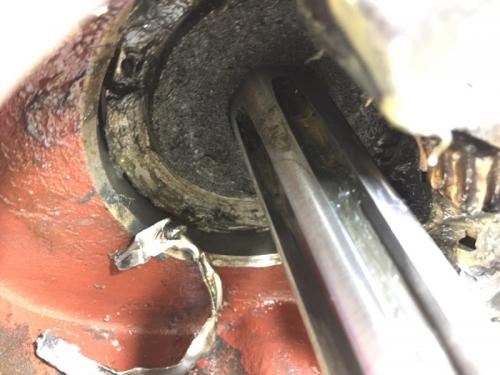
   

My best guess is this was the large washer that holds the large felt washer that you can just make out in the picture, but that's only a guess.

The next hurdle was the tiny part that lives behind this screw.
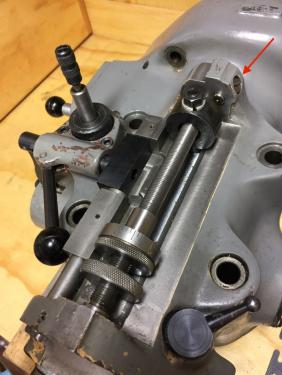
   

What a nightmare it was trying to get this little part out. Ive no idea how long it took but it was very frustrating getting it out.

So finally with all the quill housing disassembled
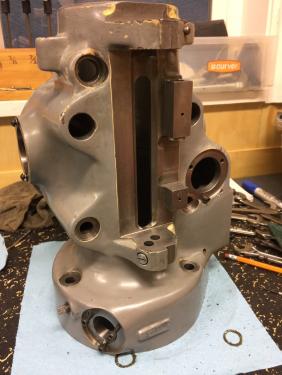
   

I set about cleaning it all up. And this is where a made a huge rookie mistake. So I fill up an old washing up bowl full of the purple power degreaser and chucked the gear housing in there to soak. Now I can hear you all laughing, but unknown to me (and who ever reads labels) but that stuff eats Ali. its a good job i didn't leave it over night and checked it after an hour or so, but the casing had turned black, the paint peeled off and all the machine warning plates where destroyed.
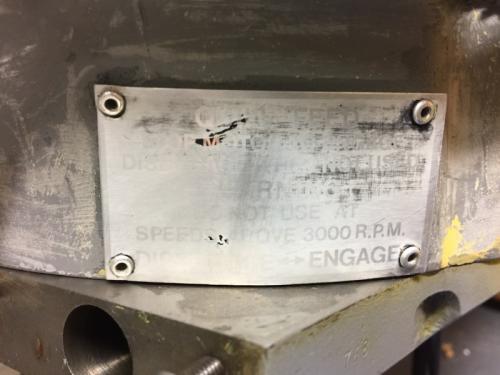
   

Oh well lesson learned!

Smiley-eatdrink004
John
Reply
Thanks given by:
#63
(01-08-2017, 09:02 PM)Old Minger Wrote: ...My next surprise was a piece of mangled metal that fell out of the top of the quill housing.

My best guess is this was the large washer that holds the large felt washer that you can just make out in the picture, but that's only a guess...

Correct

(01-08-2017, 09:02 PM)Old Minger Wrote: The next hurdle was the tiny part that lives behind this screw.

What a nightmare it was trying to get this little part out. Ive no idea how long it took but it was very frustrating getting it out.

That is the reverse trip ball lever and there is a section in those BP manuals on how to remove it with a #6-40 (I think) machine screw. The original one in my Kondia wasn't threaded but the replacement ones I got are.
Hunting American dentists since 2015.
Reply
Thanks given by:
#64
Your right Darren that part should have been threaded with a #5 - 40 but the one on my machine had broken leaving a small piece inside. That was the tricky part to extract.
Reply
Thanks given by:
#65
Suitable diameter screw driver with a rare earth magnet stuck on near the active end.
Andrew Mawson, proud to be a member of MetalworkingFun Forum since Oct 2013.
Reply
Thanks given by:
#66
(01-09-2017, 12:26 PM)awemawson Wrote: Suitable diameter screw driver with a rare earth magnet stuck on near the active end.

Tried that Andrew but no luck. 
In the end I had to drill and tap the broken part to get it out. It would seem that the barrel through hole that this piece fits into had enough of a burr around it to prevent an easy exit using just a magnet. I had to pull on the tap to get it out.
Reply
Thanks given by:
#67
BTW that bit is known as the dog bone over here :)
Andrew Mawson, proud to be a member of MetalworkingFun Forum since Oct 2013.
Reply
Thanks given by:
#68
I won' t tell you what it is known as over here in my place as the forum moderators might have something to say about it. Yikes
Reply
Thanks given by:
#69
I changed the adjusting nuts on mine to a quick adjust one a while ago. To be honest, I had to read the instructions to figure out how to get that part out. Mine wasn't threaded either.
Free advice is worth exactly what you payed for it.
Greg
Reply
Thanks given by:
#70
Running the original stop nut up and down that fine thread soon gets boring ! I put a quick adjust on mine 20 years ago and never looked back :)
Andrew Mawson, proud to be a member of MetalworkingFun Forum since Oct 2013.
Reply
Thanks given by:


Users browsing this thread: 1 Guest(s)