Posts: 437
Threads: 24
Joined: Sep 2012
Location: Sicily
The following 1 user Likes Brian's post:
oldgoaly (08-01-2013)
I posted this some time ago on H-M but I think it is worth a repeat here.
Its a project I did with First year motor vehicle students on a full time course. I had them for 1 day a week.
The idea was to build a car to celebrate the 100 year anniversary of the motor car. The work was split into two parts over two years.
I will start with a photo of the finished car so you know the objective.
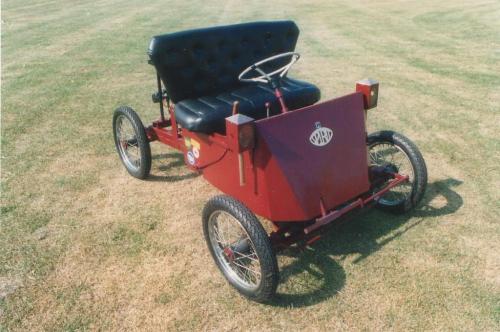
Feel free to ask questions.
Brian.
Posts: 638
Threads: 43
Joined: Sep 2012
Location: England
Hi Brian, That look really good and period, it looks like the kids took to the project. I look forward to seeing how it wasbuilt.
Thanks for posting Cheers Mick
Micktoon, proud to be a member of MetalworkingFun since Sep 2012.
Posts: 437
Threads: 24
Joined: Sep 2012
Location: Sicily
The following 1 user Likes Brian's post:
oldgoaly (08-01-2013)
The objective for the first year of the project was to build a engine..
to give the work a start I provided a cylinder liner and piston from a 2000cc 4 cyl engine. From this the class had to calculate the stroke and crank throw needed to make a 500cc engine.
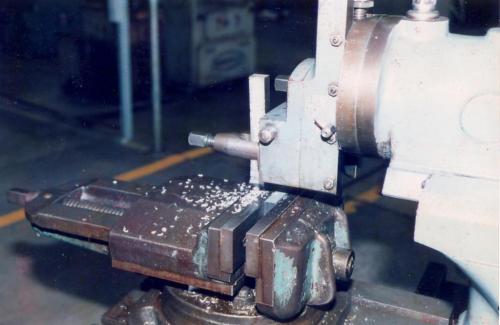
After a visit to the Science Museum. in London, a rough layout of the engine was made, then we started cutting metal.
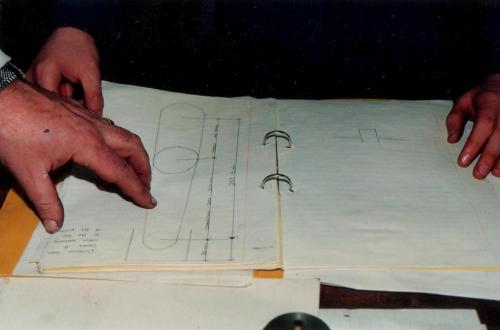
First the Shaper.
Then the lathe.
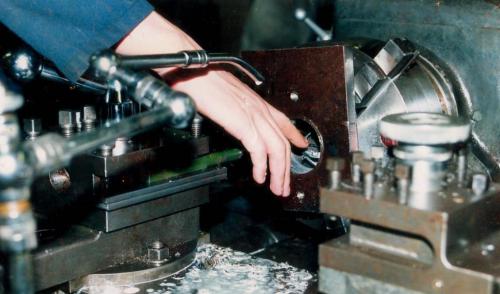
Gradually a pile of parts started to emerge. ( Note that each major unit is
separate, this is to accommodate the errors )
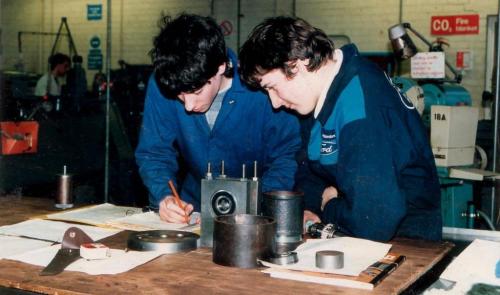
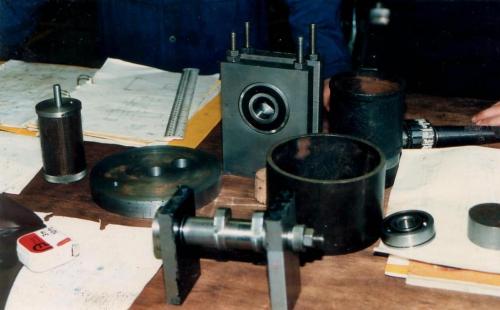
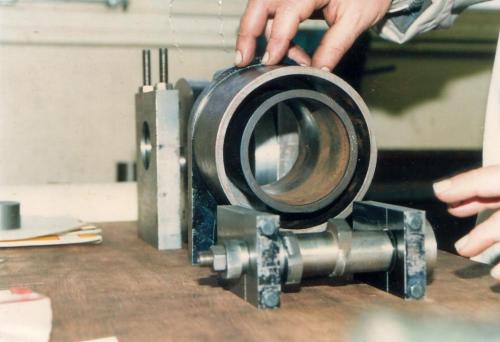
Limits and fit's ???????? Lets just get on and make it, after all we only have 30 days to make a running engine.
Brian.
Posts: 4,683
Threads: 93
Joined: Feb 2012
Location: Perth, Australia
Hunting American dentists since 2015.
Posts: 8,842
Threads: 318
Joined: Feb 2012
Location: Arizona/Minnesota
Posts: 4,513
Threads: 139
Joined: Feb 2012
Location: Kempton Park. South Africa


DaveH
Posts: 437
Threads: 24
Joined: Sep 2012
Location: Sicily
The following 1 user Likes Brian's post:
oldgoaly (08-01-2013)
Having established what the bore and stroke was the lads calculated the
size of the combustion chamber to give a modest 4-1 compression ratio.
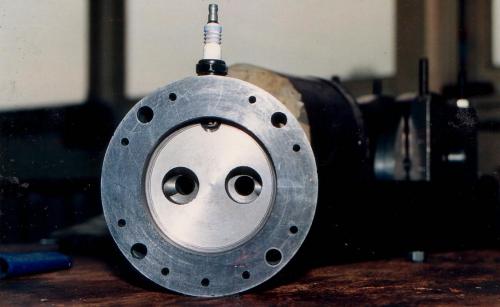
Then we started on the cylinder head. the water jacket was milled in the top ,leaving support for the valve guides and enough area to allow the gasket to seal.
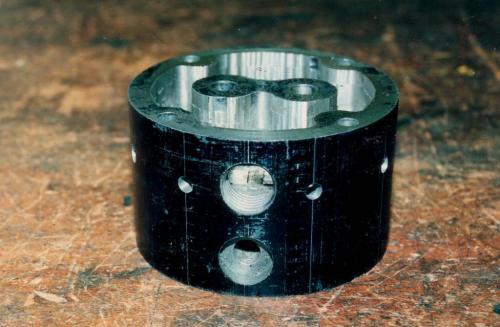
The combustion chamber was turned out and the ports cut on the mill.
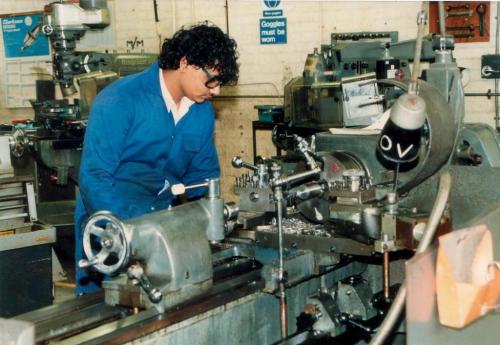
Most of the lads preferred to use the larger machines in the shop when they had the option.
Brian.
Posts: 437
Threads: 24
Joined: Sep 2012
Location: Sicily
The following 1 user Likes Brian's post:
oldgoaly (08-01-2013)
05-10-2013, 09:52 AM
(This post was last modified: 05-10-2013, 09:56 AM by Brian.)
Absolutely awesome work.
"Billy G"
Posts: 4,513
Threads: 139
Joined: Feb 2012
Location: Kempton Park. South Africa


DaveH


